
High Tove - Lake District Walk
Thursday 8th July 2010
As my back seemed to be easing up I was determined to fit in at least one 'proper' walk during this trip and as the Lakes had been experiencing a prolonged dry spell and was under threat of a hosepipe ban it seemed the ideal time to tackle the notoriously boggy High Tove. Although this ended up being a somewhat slow walk, even for me, which in hindsight would going to keep me off the hills for a long time, we were at least rewarded with a dry crossing that involved less bog hopping than we normally encounter on Kinder or Bleaklow.
Start: Armboth car park (NY 3052 1720)
Route: Armboth car park - High Tove (297) - Middle Crag (298) - Shivery Knott (299) - Watendlath Fell (300) - Armboth Fell (301) - Fisher Crag (302) - Armboth car park
Distance: 5 miles Ascent: 419 metres Time Taken: 5 hours 30 ins
Terrain: Moorland.
Weather: Warm and sunny.
Pub Visited: Bank Tavern, Keswick Ale Drunk: Jennings Cumberland
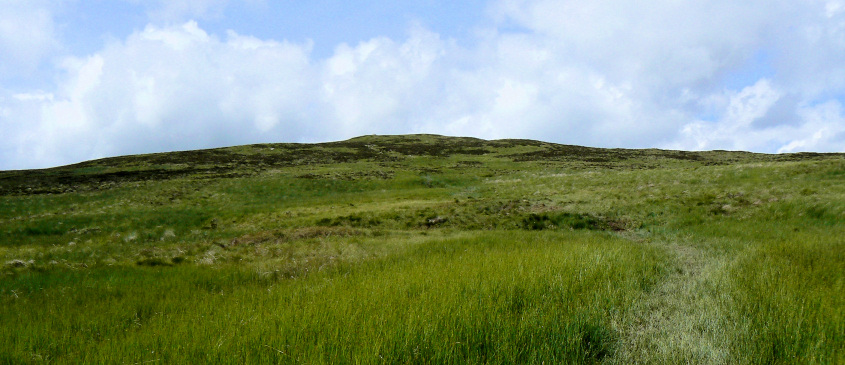
Our first view of High Tove, the first summit of the day.
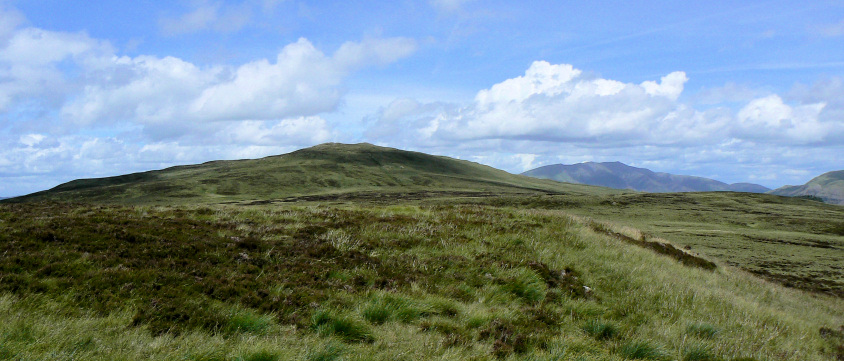
High Seat and a distant Blencathra as we approach High Tove's summit.
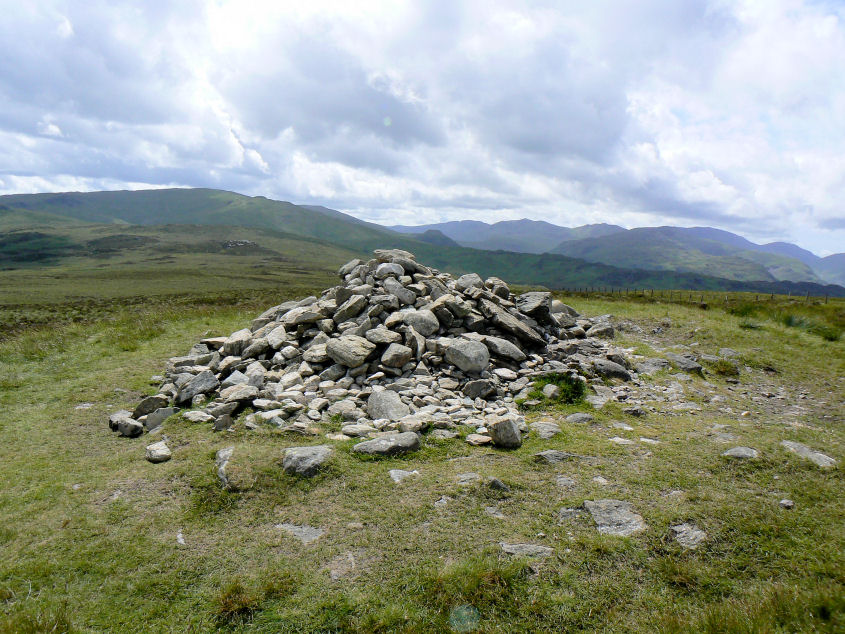
High Tove's summit cairn.
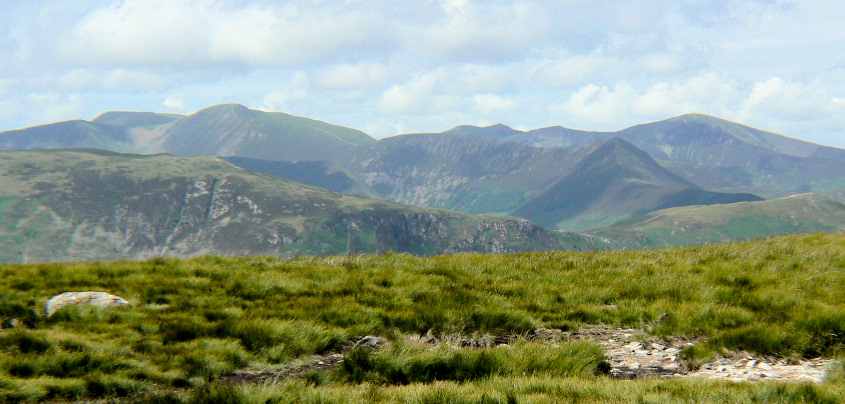
A short walk beyond the cairn gave us a great view of Grisedale Pike and Causey Pike.
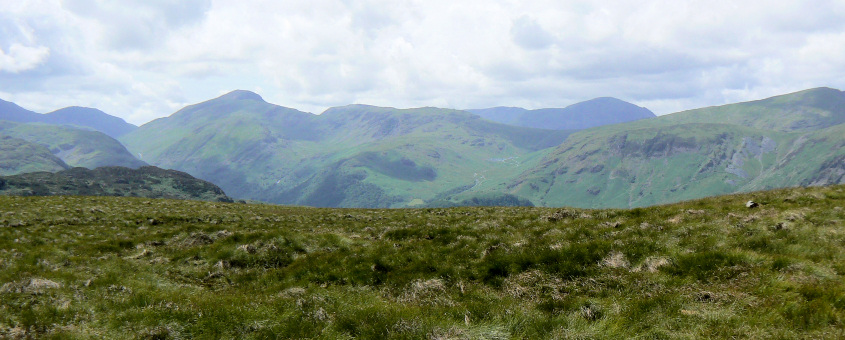
Looking round to the left and the view extends to Great Gable.
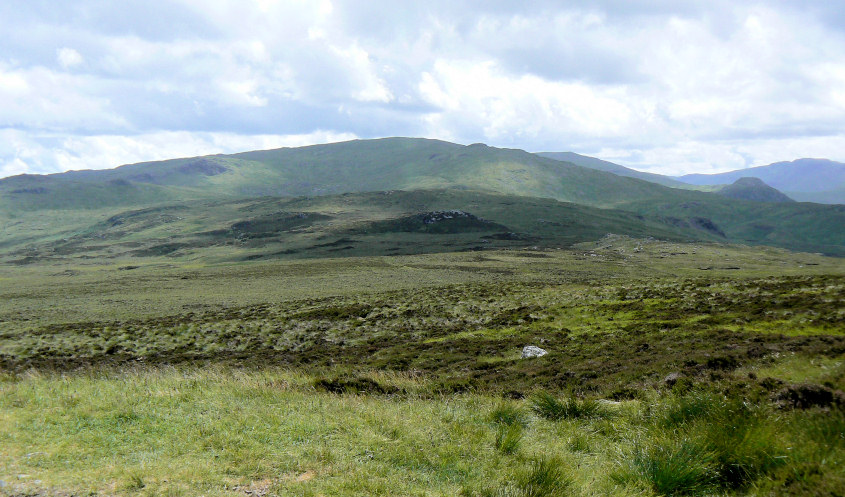
Our route takes us towards Ullscarf.
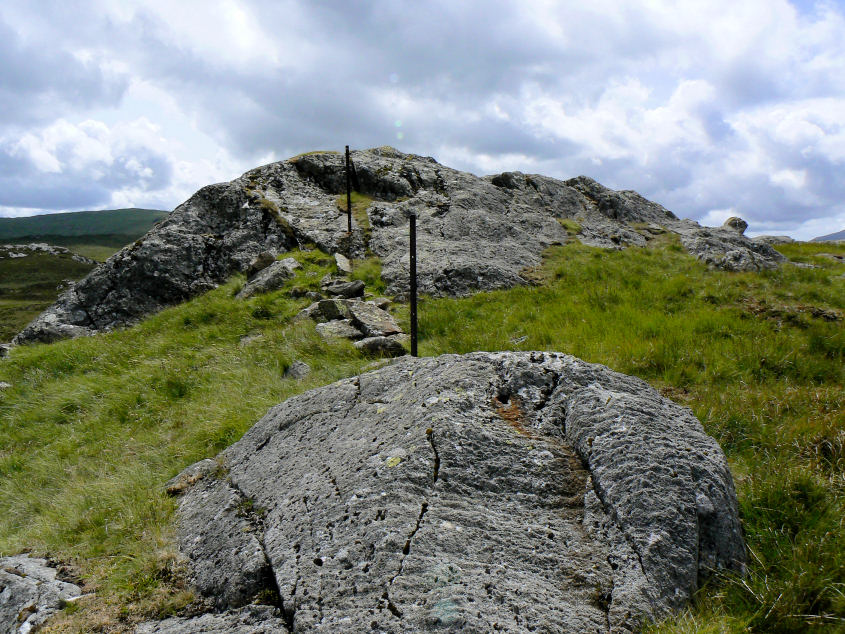
Approaching the summit of Middle Crag.
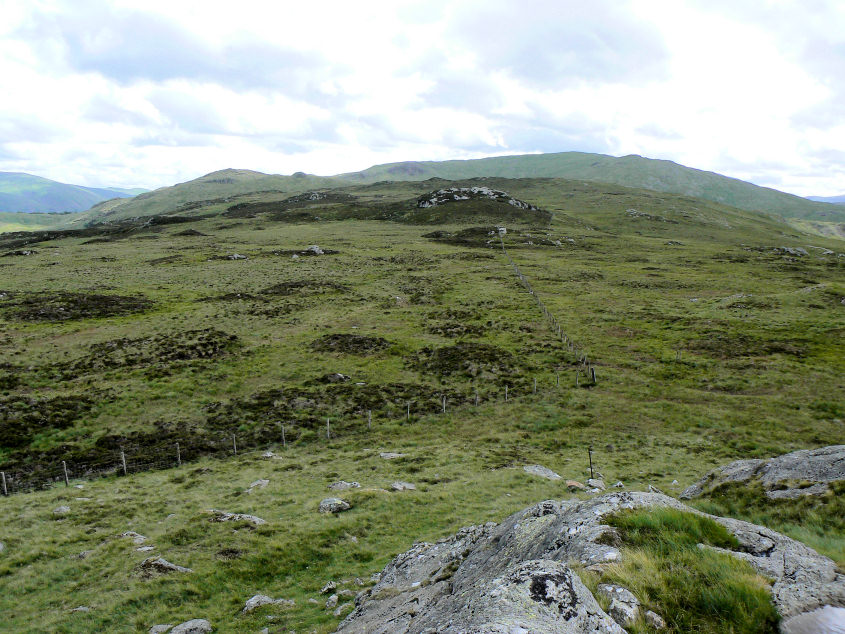
Looking towards Shivery Knott from Middle Crag.
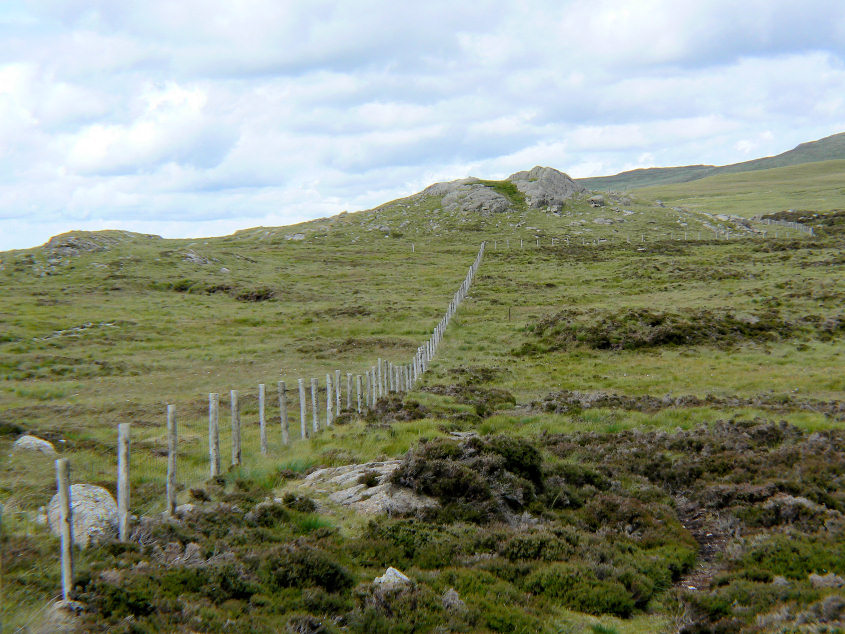
Middle Crag from Shivery Knott.
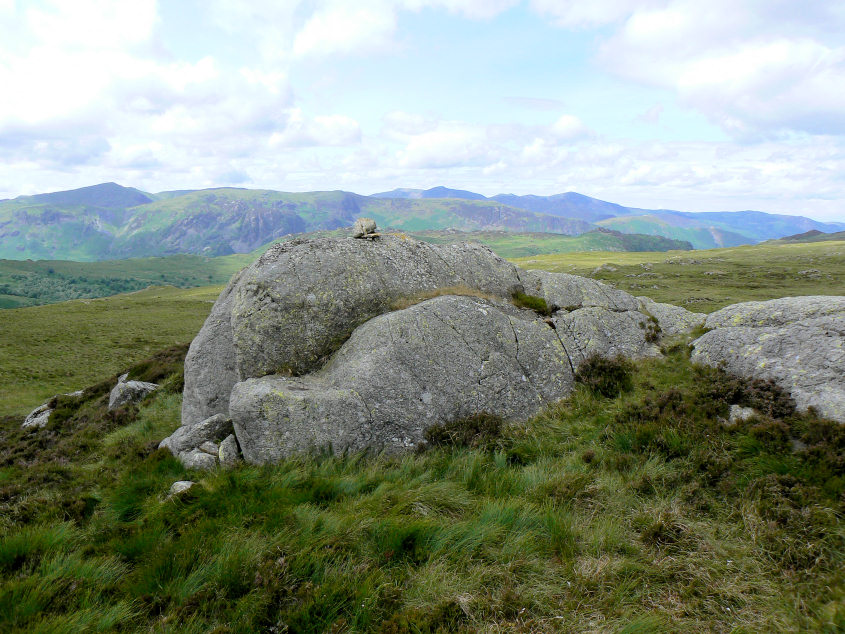
Shivery Knott's summit.
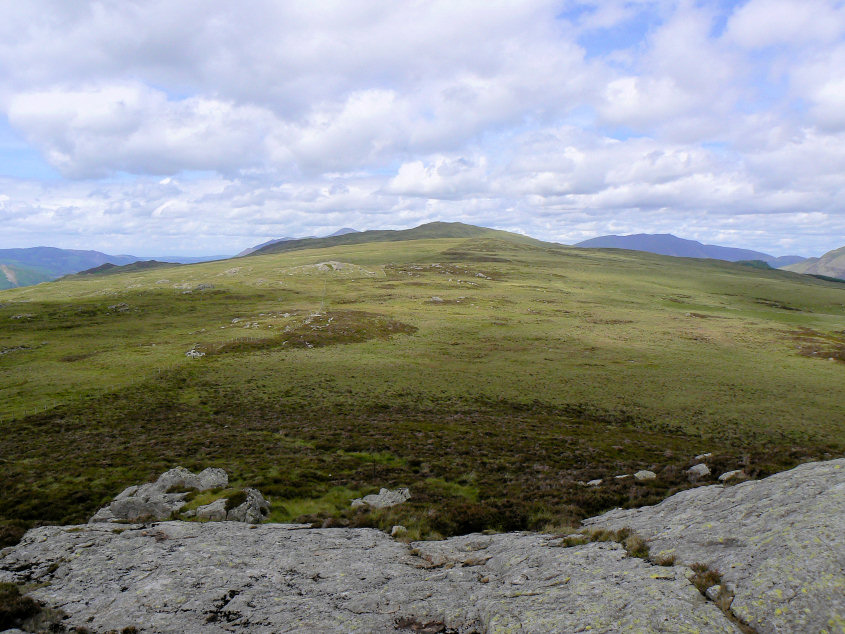
Looking back towards High Seat from Shivery Knott.
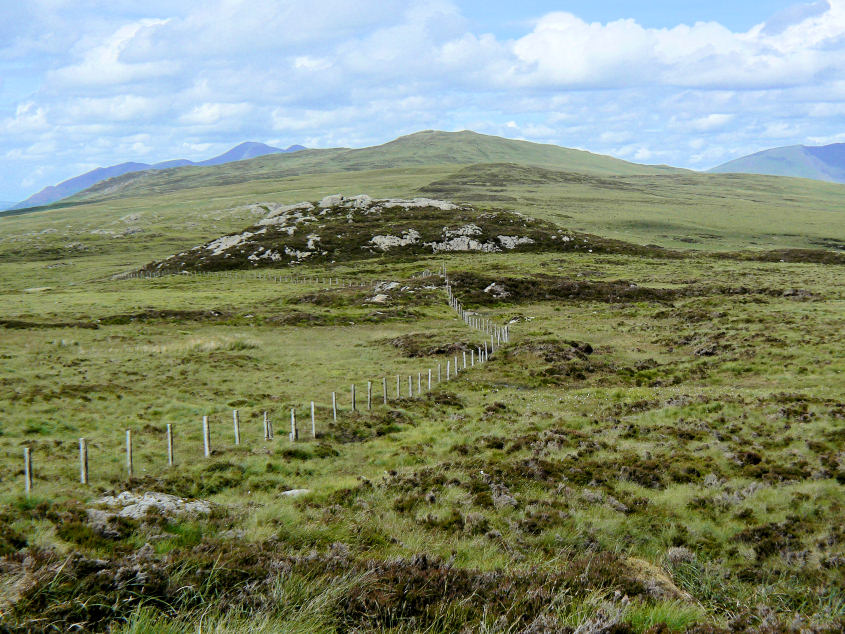
Shivery Knott from Watendlath Fell. The route followed the fence from High Tove to Watendlath, but it was necessary to clamber the fence to reach various summits.
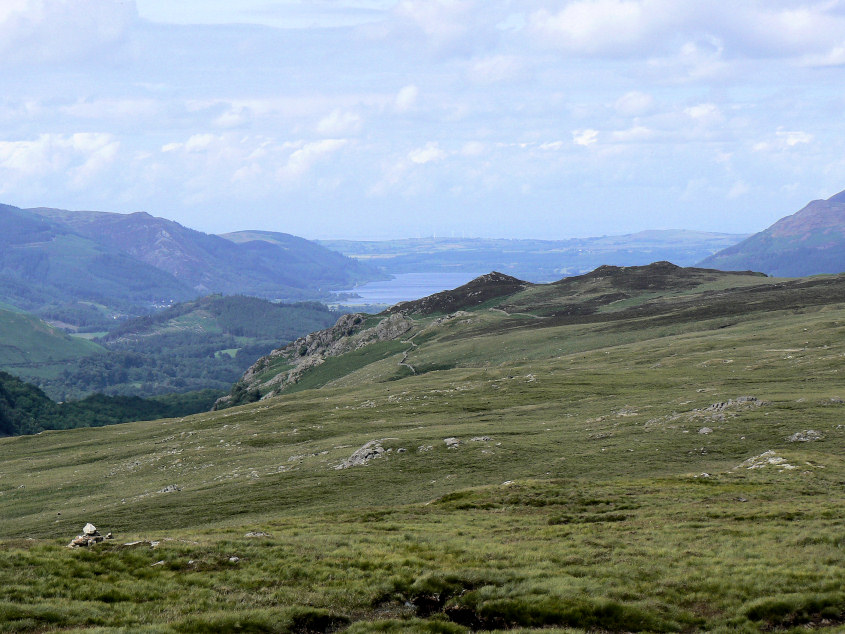
A fine view across the fell to Bassenthwaite and Lord's Seat.
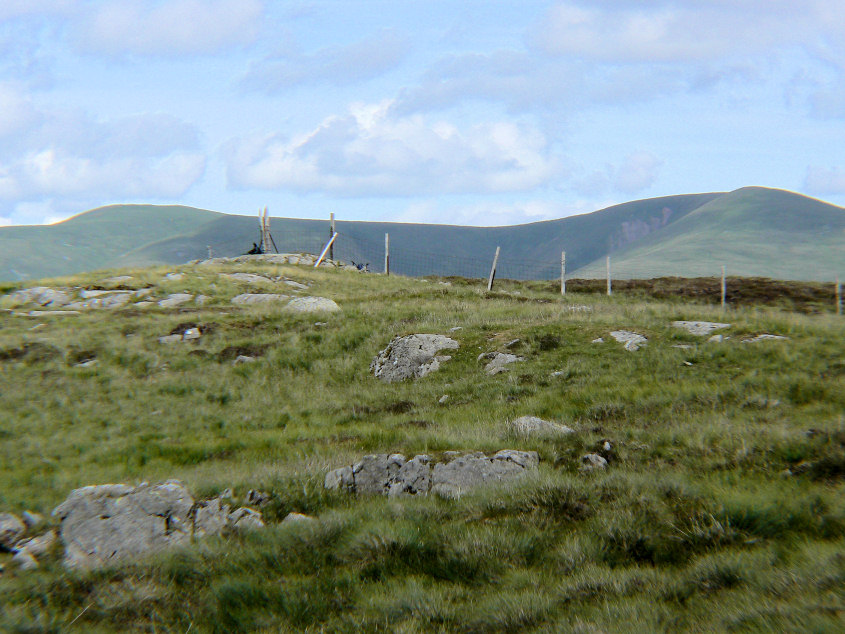
The fence, according to the GPS reading, appears to be the true summit of Watendlath Fell.
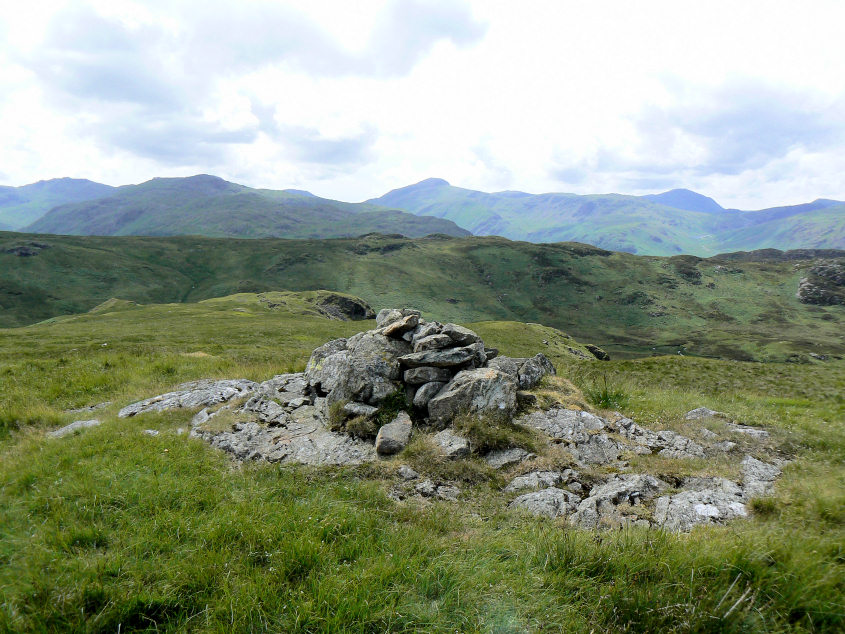
The cairn the other side of the fence gives much better views.
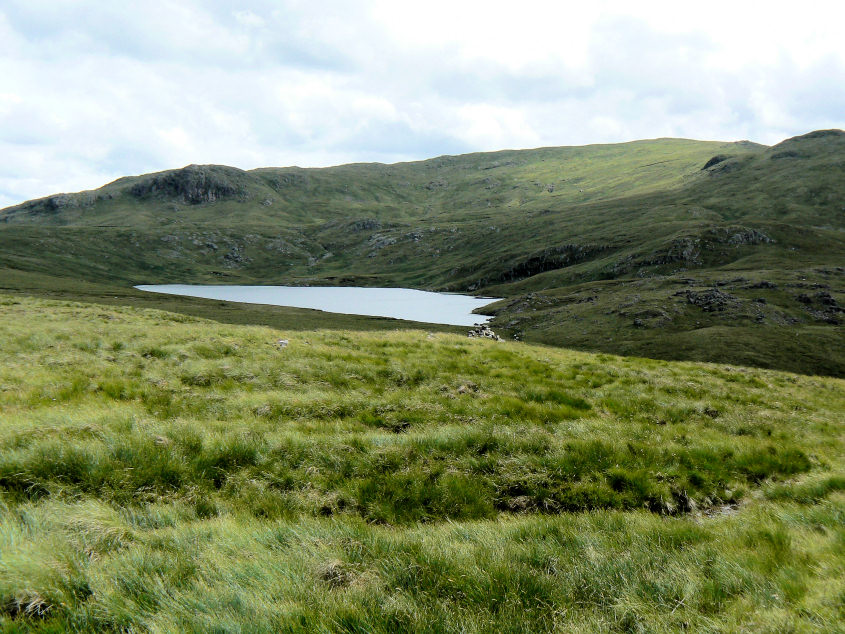
Blea Tarn.
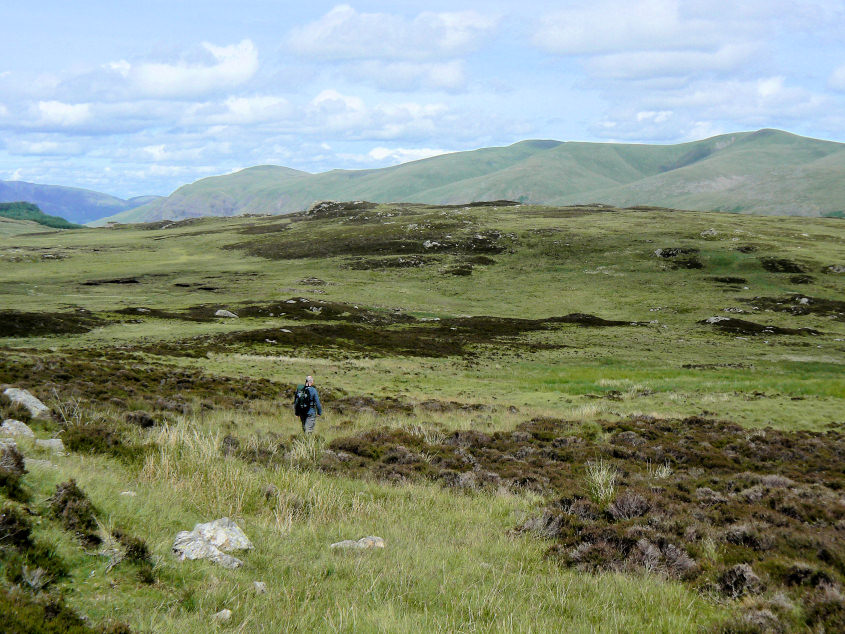
Heading across the moor to Armboth Fell.
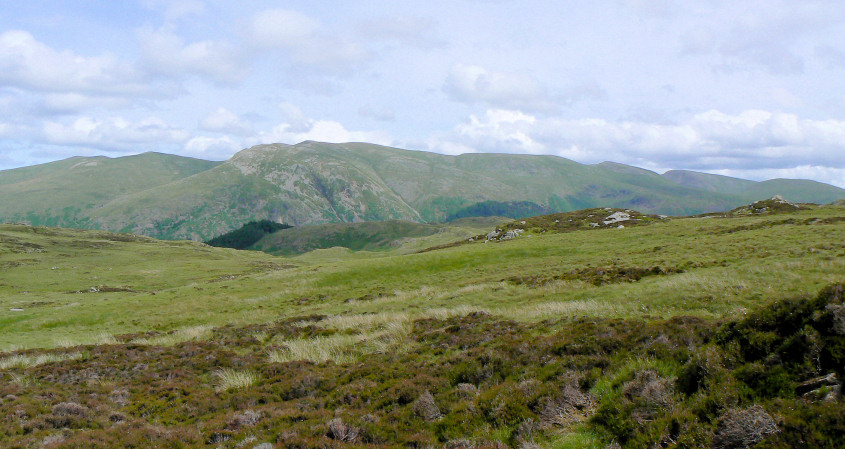
Helvellyn as we head towards Armboth Fell.
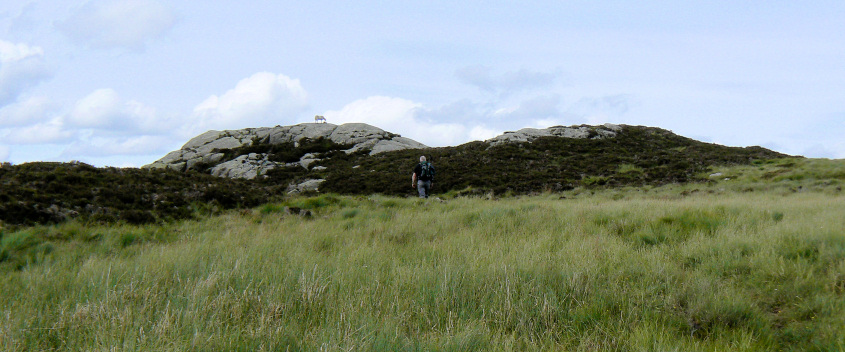
Approaching the summit of Armboth Fell.
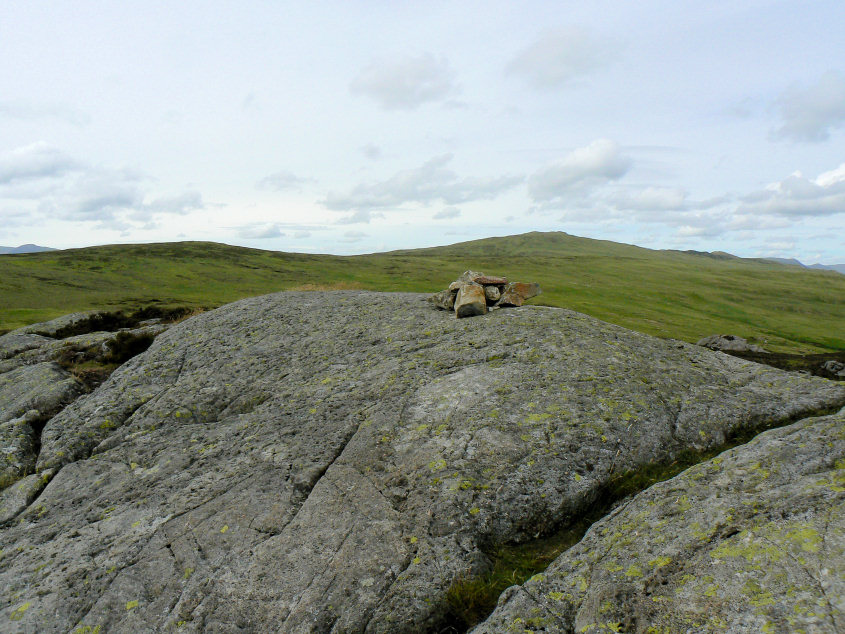
High Seat from Armboth Fell's summit.
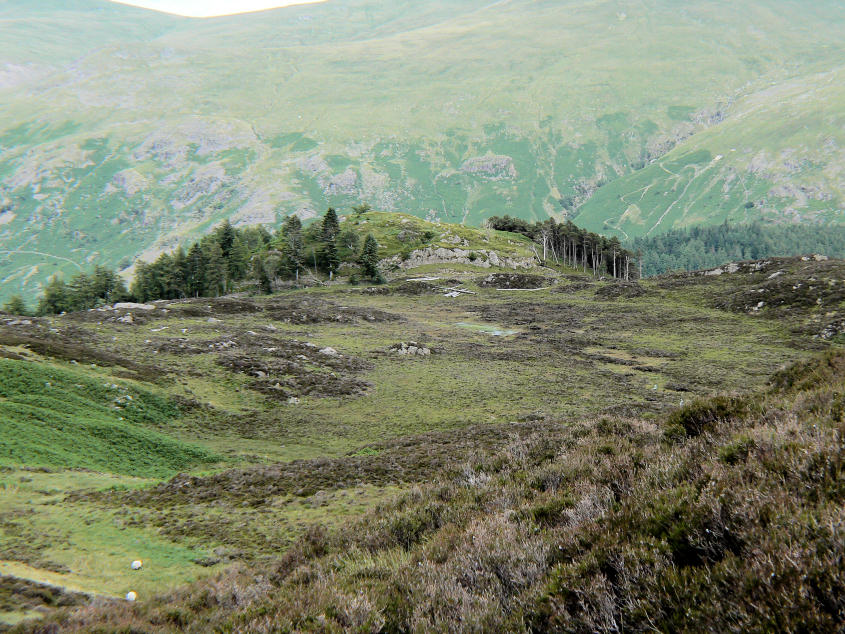
Fisher Crag, the final summit of the day.
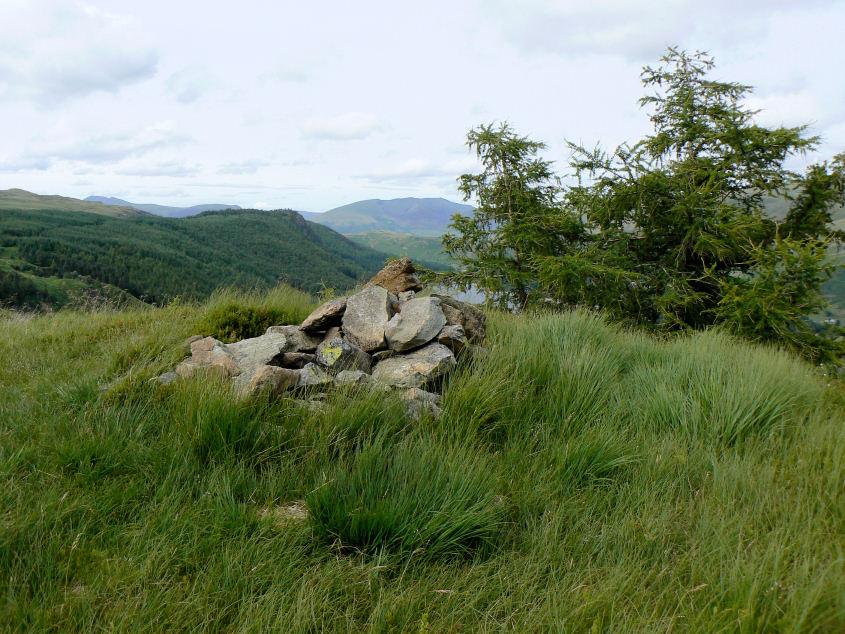
Fisher Crag's summit cairn.
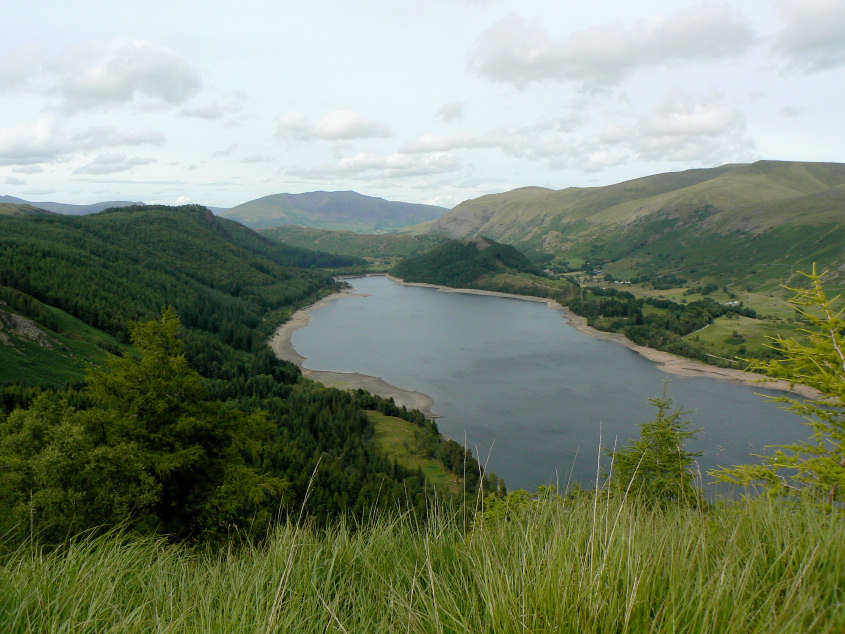
For such a small summit it offers some fine views of Thirlmere. Here looking towards Blencathra.
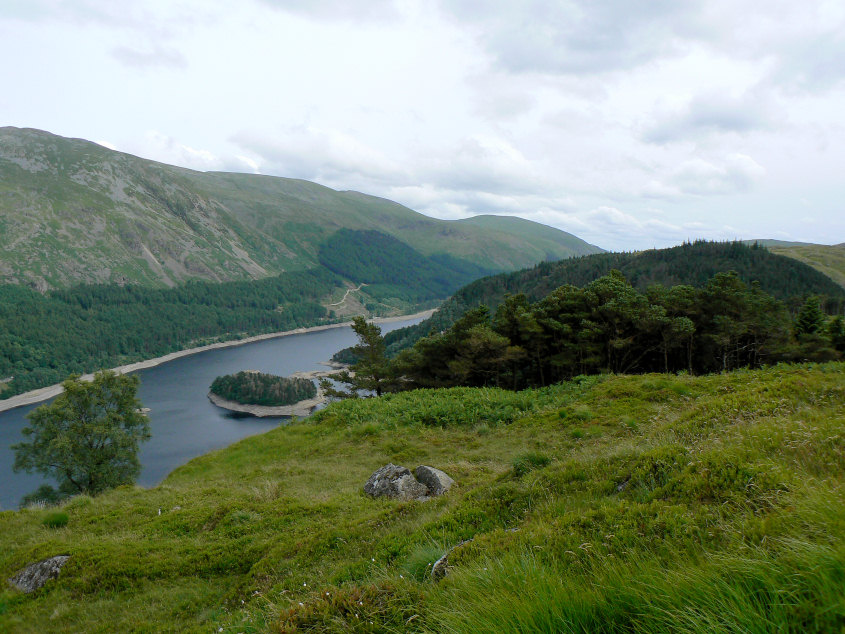
The water is so low that it looks like you could walk across to Hawes How Island.
All pictures copyright © Peak Walker 2006-2023